Re: Hi to all members... I am newbie in here.
Posted: June 4th, 2009, 2:23 am
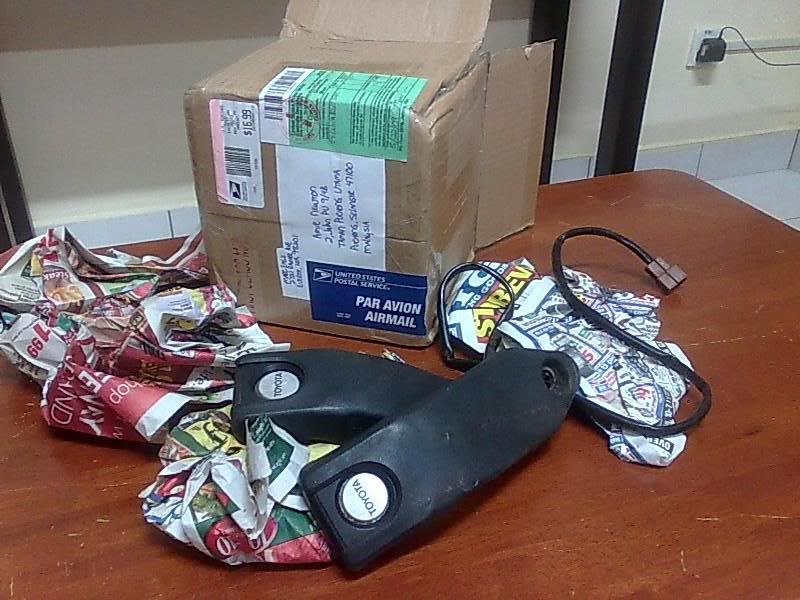
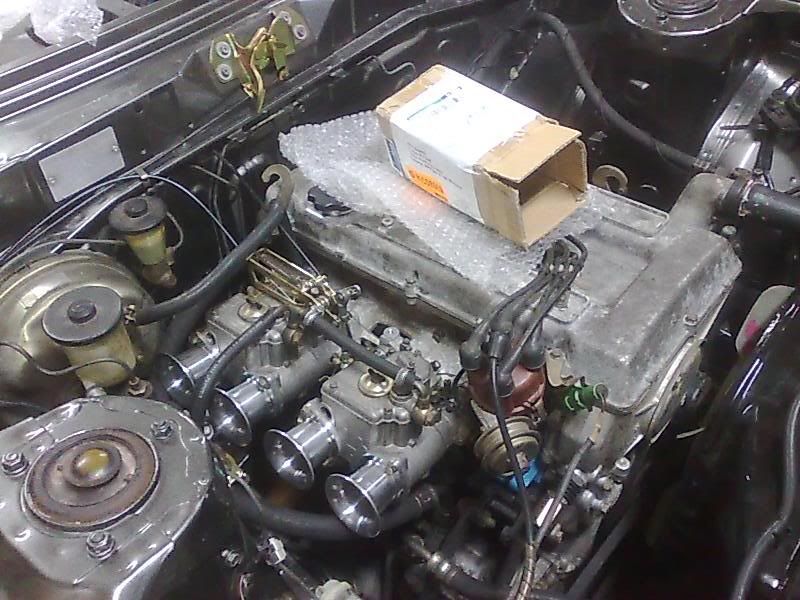
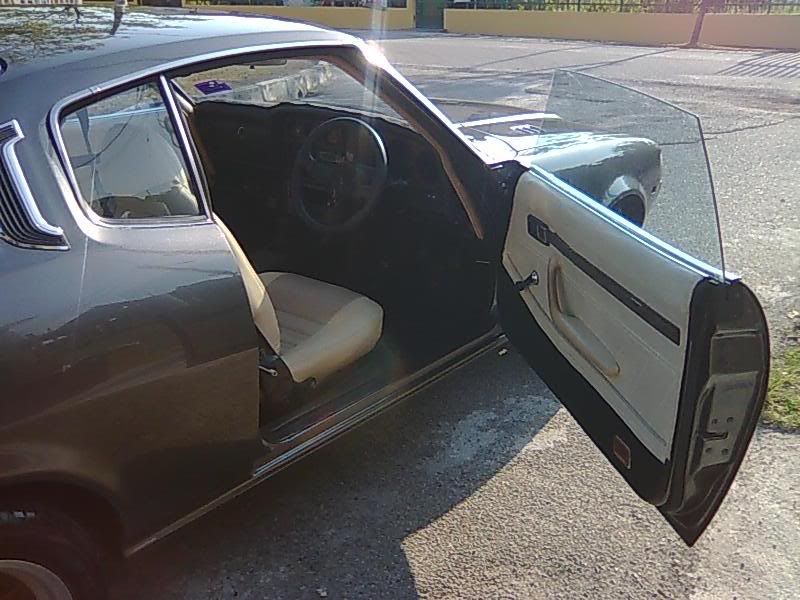
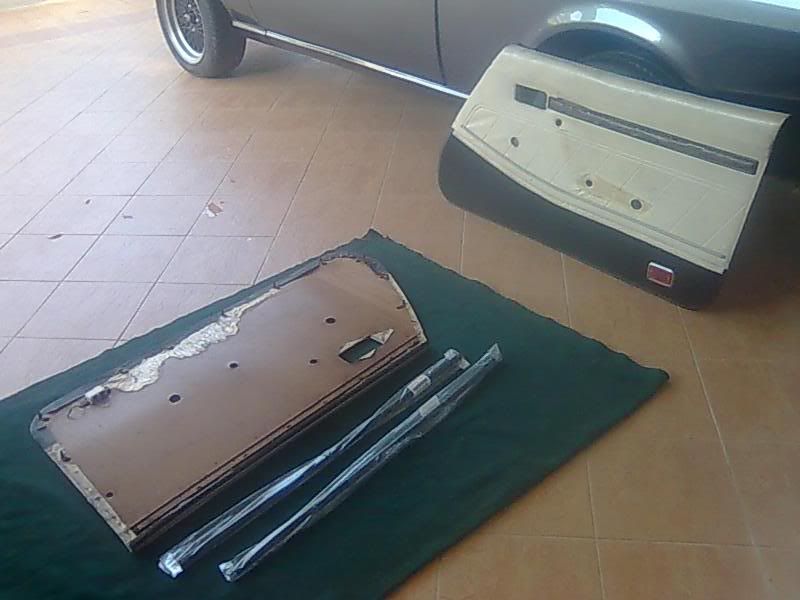
April 08, 2009 Ok, today I'm going to replace the door inner weatherstrips. No screws & nuts to play with. Just a screw driver will help. Is so easy, just plug & play.
Nothing much to say, just enjoy the pics.
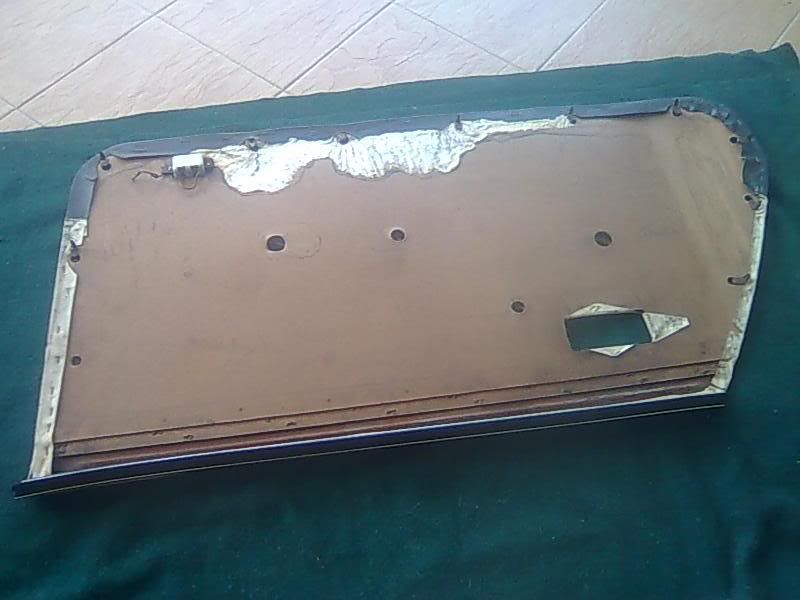
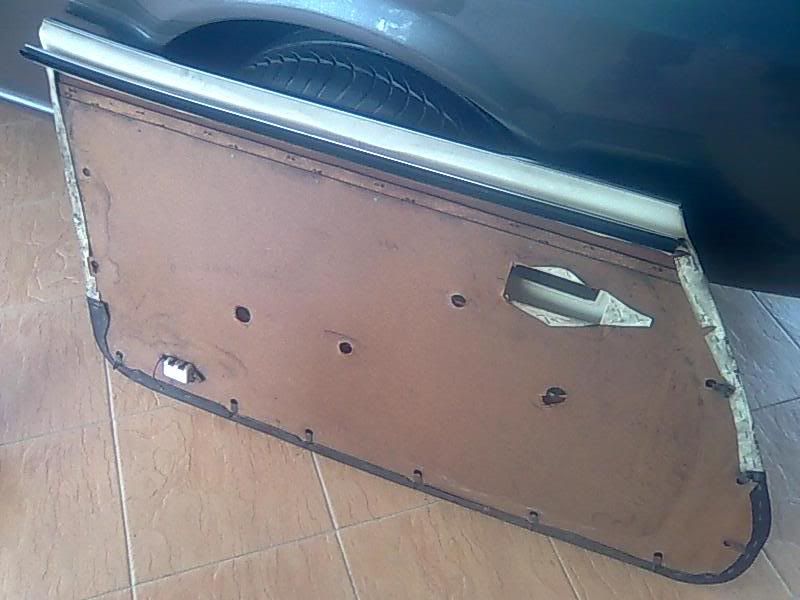
Both door interior panel are in ready mode...
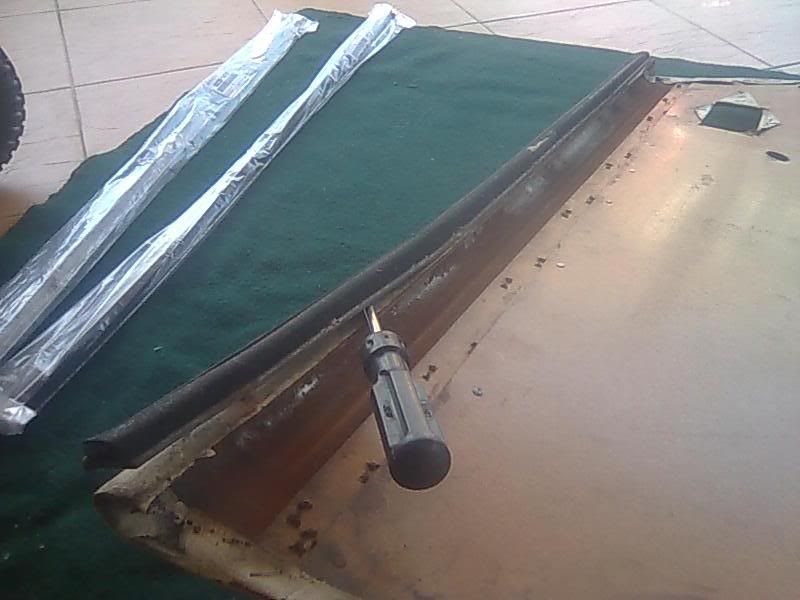
Here we go, for the first, i,e driver side

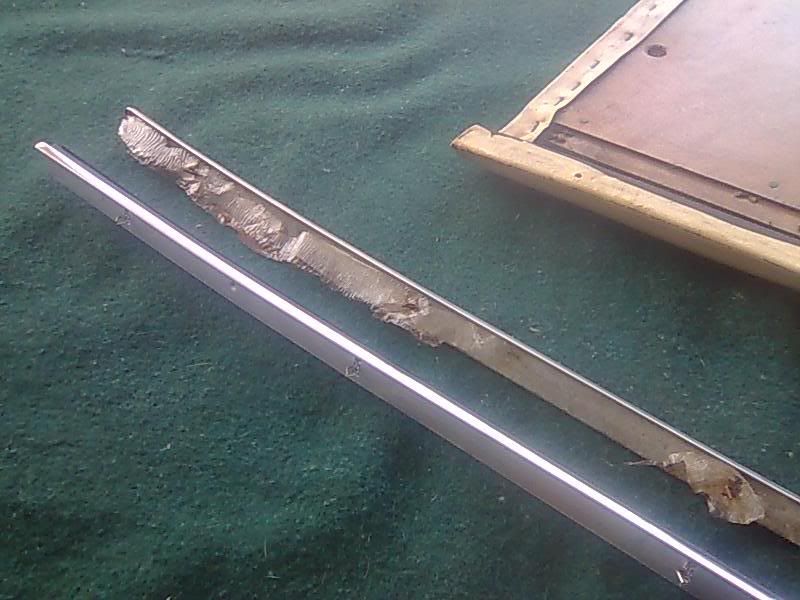
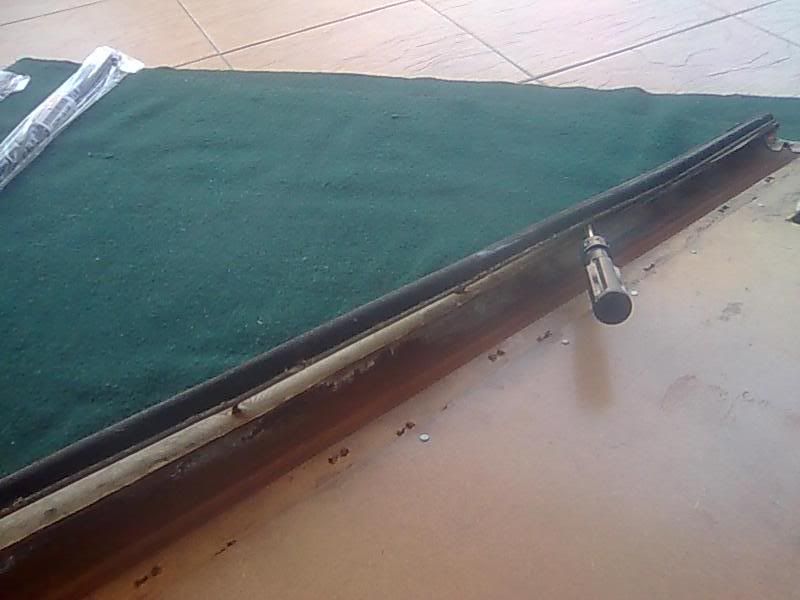
Use the screw driver & pull out the rotten one
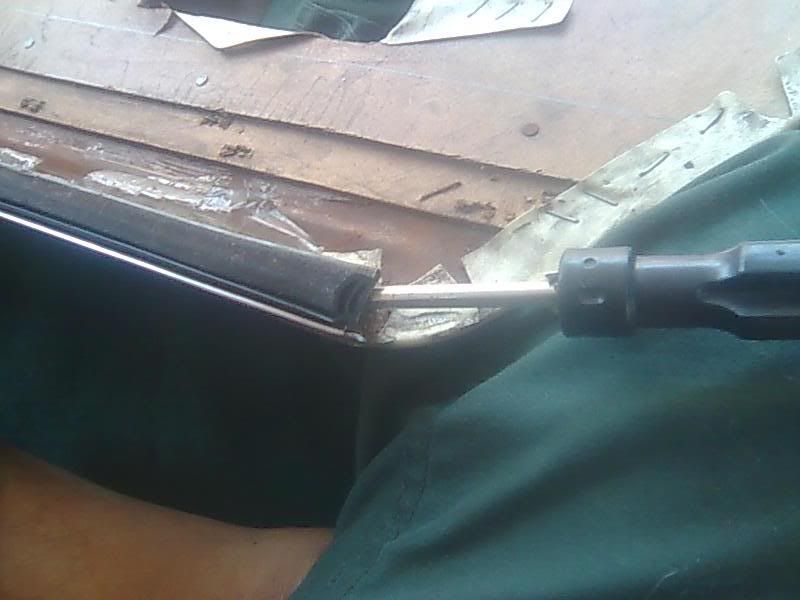
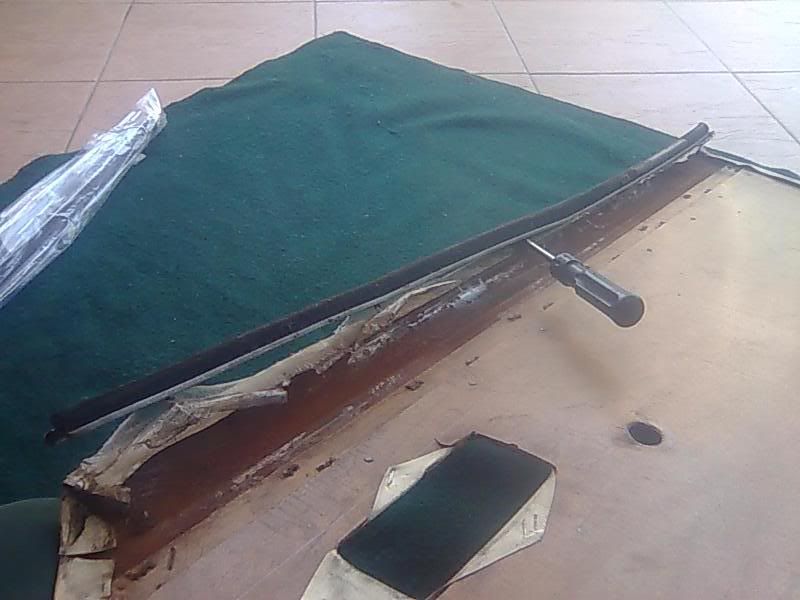
Just a few seconds, it spilt out...

Now clean up the panel before fix new one

Oppppsssss.... my "model" (my youngest child) just come to disturb his dad... ok a shoot for him

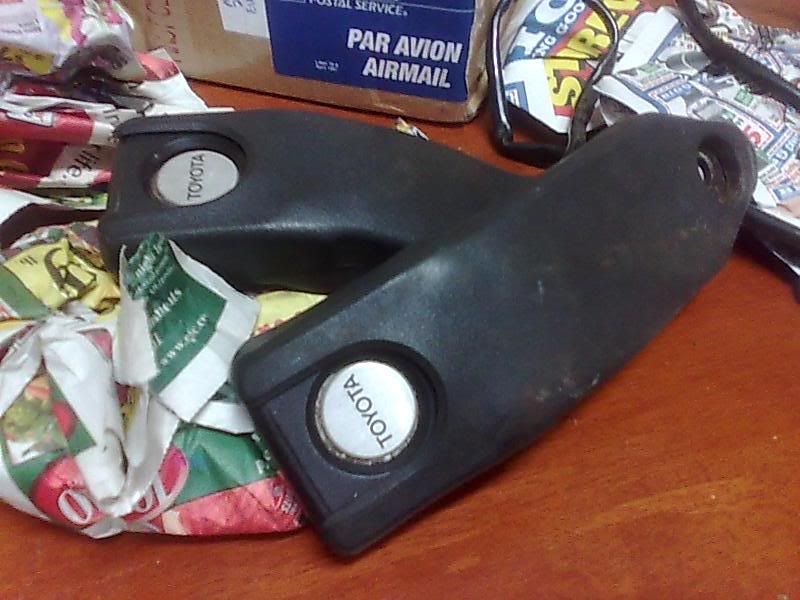
Huhuhu... the new one... Yummy....
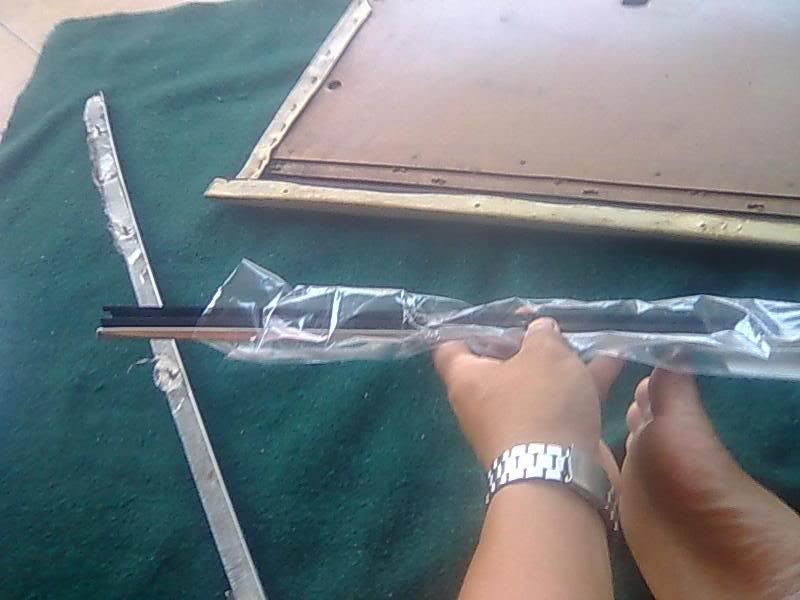
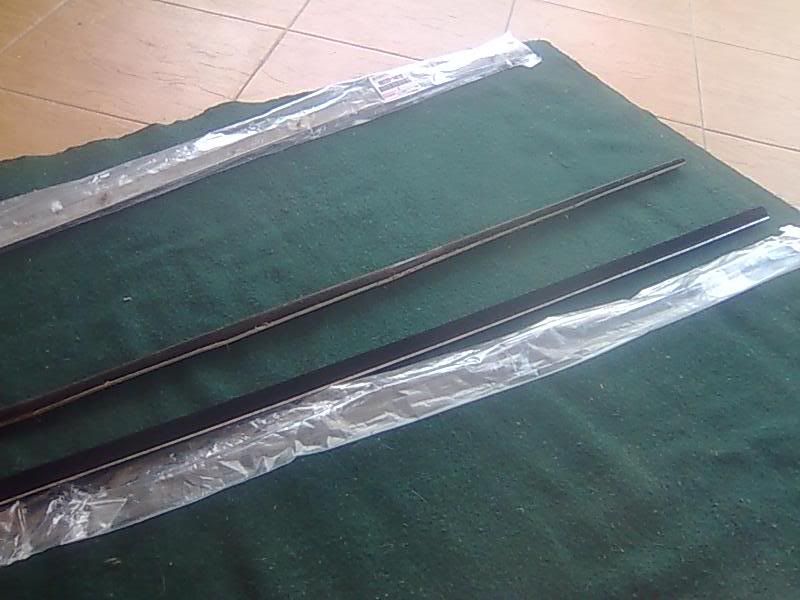
New & old... side by side....
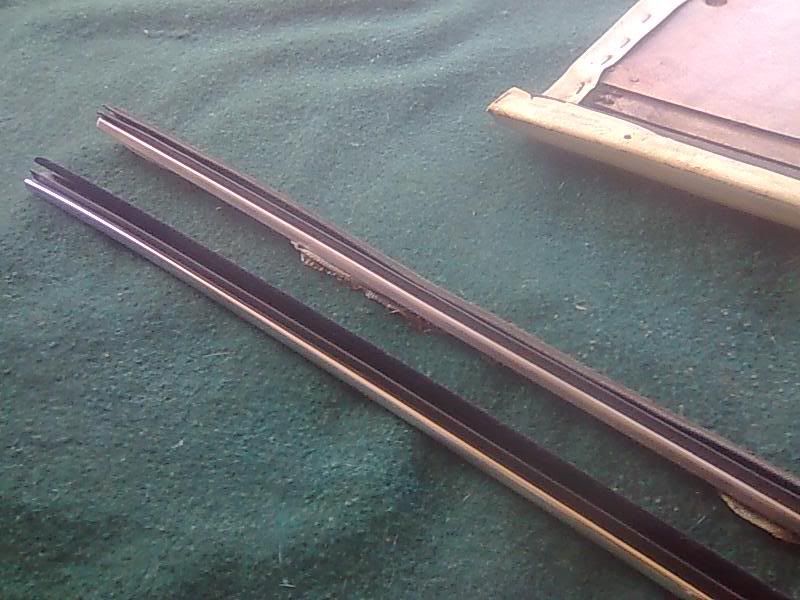
Just plug it & done in seconds...
Next.... for the passenger side.... just repeat the process
Side by side
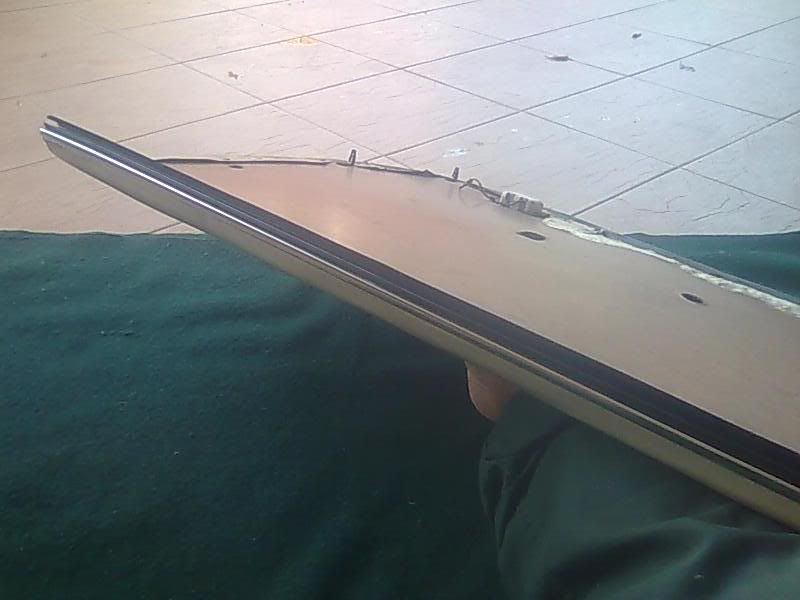
Done... in seconds
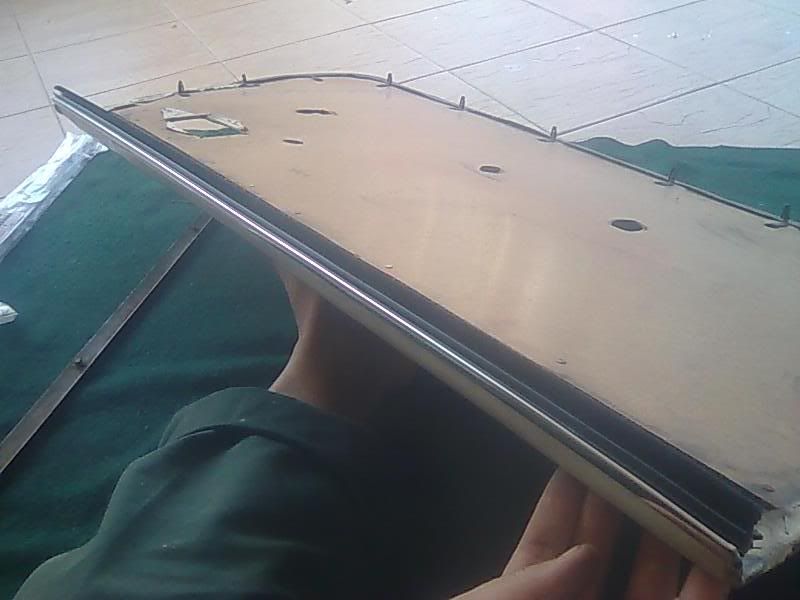
Both panel now are ready to fix onto the doors
Nothing much to say, just enjoy the pics.
Both door interior panel are in ready mode...
Here we go, for the first, i,e driver side
Use the screw driver & pull out the rotten one
Just a few seconds, it spilt out...
Now clean up the panel before fix new one
Oppppsssss.... my "model" (my youngest child) just come to disturb his dad... ok a shoot for him
Huhuhu... the new one... Yummy....
New & old... side by side....
Just plug it & done in seconds...
Next.... for the passenger side.... just repeat the process
Side by side
Done... in seconds
Both panel now are ready to fix onto the doors